


Grease Pencil Tools v2.2.5 for Blender
Grease Pencil Tools v2.2.5 for Blender
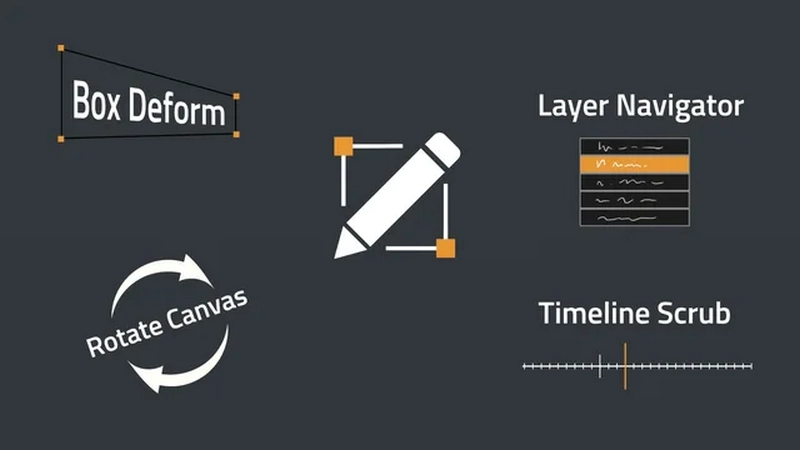
Extra tools for Grease Pencil. This extension was part of Blender 4.1 bundled add-ons.
Add option in Tab Grease Pencil
Box deform on Ctrl + T
Example with lattice subdiv and spline deformations.
How to use: (same tutorial in addon preferences)
Use the shortcut Ctrl + T in available modes
The lattice box is generated facing your view, so be sure to face canvas to avoid unintentional anamorphic offset
Then use the following shortcuts (also displayed in top bar):
Modes and deformation target:
Object mode : The whole GP object is deformed
GPencil Edit mode : Deform Selected points
Gpencil Paint : Deform last Strokes
Shortcuts (also displayed in top bar):
Spacebar / Enter : Confirm (Combine with Shift to let the lattice in place)
Delete / Backspace / ctrl+T / Tab(twice) : Cancel
M : Toggle Linear and Spline mode at any moment
1-9 top row number : Shortcut to subdivide box
Ctrl + arrows-keys : Subdivide the box incrementally in individual X/Y axis
Notes :
If you return in box deform after applying with a ctrl+Z, you need to hit ctrl+T again to revive the modal.
A cancel warning will be displayed the first time you hit Tab (to avoid mis-canceling)
Multiframe edit selection works, but you will only see the current frame during the modal
Customize shortcut in addons preferences, Default ctrl + alt + right-Click.
Shortcut changed are refreshed upon modifications.
Use Hud: Show angle value and lines.
Reset view (free navigation only): Click and release immediately without rotation to reset (up view point to world Z).
Incremental rotate Use Shift to increment rotation by a user-defined degree (in addon pref)
Save/restore camera rotation use button in sidebar
Viewport timeline scrubbing
Use Alt + Mid-Clic to call viewport timeline (customizable in addon preferences)
Use Ctrl to snap on keys
Options:
Always snap option snap on the keys
Rolling mode Discard timing information to jump quickly between keys
You have a lot more option to customize the Graphical aspect of the timeline.
Straight stroke
Straighten the stroke between the first and last point, keeping the points proportionally distant from each other.
You can affect influence in the redo panel (press F9 to pop up the redo panel).
Influence amount is remembered for next use (You can shift+click on the button to reset and force the use of 100% influence)
Timeline Scrub
Call a timeline popup at mouse position to scrub without leaving the 3D viewport.
The default shortcut to call the timeline is Alt + MMB. The shortcut enable the scrubbing when hovering timeline editors as well (dopesheet, sequencer, etc).
Scene start/end and keyframes are represented with symbols on the timeline. While scrubbing, pressing Ctrl key Snap time cursor on keyframes.
There are several settings to customize visual aspect and behavior in addon preferences:
“Always Snap” checkbox invert the snapping behavior
Special “Rolling” mode is available. It displays keyframes with a constant spacing, discarding timing data when scrubbing back and forth. This is useful for quick flipping between keyframes.
Filter to restrict the key display and snapping to Grease Pencil frames only.
Change shortcut and choose to propagate it to timeline editors
Customizable colors, frame spacing and amount of displayed information.
Layer navigator
Continuous press on Y key override default layer popup with a custom drawn panel.
When panel pop, active layer is always under mouse
Active layer is changed just by hovering over a layer and releasing key
Opacity, hide, lock can be tweaked per layer in popup
Passing the border of the popup will fade inactive layer (allow to quickly inspect layer content)
Layers can be reordered with drag’n’drop
+ button on the right add layer above current
Extra shortcuts are enabled while layer navigator popup is called:
H toggle all hide
L toggle all lock
T toggle auto-lock
X toggle In Front value of the object
Right-click or Escape to set original active layer
DOWNLOAD FROM HOT4SHARE.COM
DOWNLOAD FROM SYNCS.ONLINE