


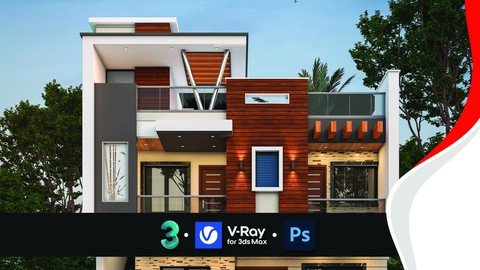
Udemy – Advanced 3d Exterior Visualization with 3ds Max & V-Ray
Genre: eLearning | MP4 | Video: h264, 1280×720 | Audio: AAC, 48.0 KHz
Language: English | Size: 4.67 GB | Duration: 2h 17m
Create Beautiful Photorealistic 3D Renderings with 3ds Max + V-Ray
What you’ll learn
Learn 3ds Max + V-Ray creating your first arch viz project in the first 6+ hrs of the course!
Take your rendering knowledge from basic to PRO by following a PRO workflow!
Become comfortable creating with the two industry standard software packages, 3ds Max and V-Ray.
Learn to use Photoshop for texture creation and post-processing your renderings Learn Vray materials, lighting and cameras.
Provide the foundation for starting a career in 3d visualization.
Complete your first photoreal, professional rendering using 3ds Max and Vray.
Improve your lighting, composition, and post-processing skills.
Start creating professional looking 3d visualization by following along with the course.
Shared 14+ years of Experience(in 3d Visualization industry) in 6+ Hrs.
You’ll learn how to use the client plans and handle DWG files.
Know the secrets to stand out from the crowd.
Master the workflow PROs use day to day to make 3D renders.
and so much more!
Description
About This Course –
When I first made this course, it was to fill a void that I noticed in the arch viz industry. There are not a lot of tutorials out there that help you to learn arch viz from the beginning in a professional way, using the PRO software and a PRO workflow. So, I created this course, and I never could have imagined how popular it has become! It has also evolved a lot since that first time I published. Here are some key things to know:
Course –
Teaches 3ds Max and V-Ray from the very beginning
Follows a project from nothing, all the way to the end
Demonstrates the exact workflow that I use daily as a practicing professional (thus the PRO part)
Uses my UI setup, shortcuts, etc (all downloadable for your use)
Shows you everything you need to know to create a basic project
Contains 6+ HRS of video from start to finish
Course Structure (Original 6+ hrs of instruction) –
For intermediate learners, I will go over how to customize your UI for a professional workflow, because why learn the slow way to do things, right? I’ll also teach with you my custom UI settings. Of course, you can skip all of this if you are more seasoned.
Next we will start with the basics of modeling. I will show you different techniques, and we will begin to work on our project.
With modeling down, we will go into V-Ray and start playing with lighting, materials, cameras, render settings, etc.
Finally, we will learn how to enhance our images with Photoshop. I give some great post-processing tips in this course.
By the end you will be able to create architectural renderings on your own with a completely professional setup and workflow. Then it is your turn to start practicing your skills, creating beautiful work, building a portfolio and landing a job.
3D Rendering with 3ds Max and V-Ray.
Are you having trouble achieving photo realistic results?
In this project-based course I am going to walk you step by step through how to create photo-realistic images every time, no more hoping for a good result. You can follow along with your own project or use the example scene.
By the end of this tutorial series, you will have…
Mastered the 3D Rendering Workflow
Have the knowledge to create photorealistic images every time.
Know the secrets the professionals use to stand out from the crowd.
It’s great to have you here. I LOVE 3D RENDERING ESPECIALLY 3DS MAX AND V-RAY!
NOTE : THIS COURSE DOES NOT CONTAINS ANY SOURCE FILES!
Who this course is for:
Intermediate Level
Suitable for Individuals who wants to learn 3d Visualization & make career in this field.
Civil Engineers who wants to make there own 3d renders.
Architects.
Institutions who wants to teach their students about 3d visualization.
Animation industry fellows who wants create assets for there projects for movies, tv & ads.
Homepage
https://www.udemy.com/course/advanced-3d-exterior-visualization-with-3ds-max-v-ray/